|
Adding rides and structures to our Basics Park.
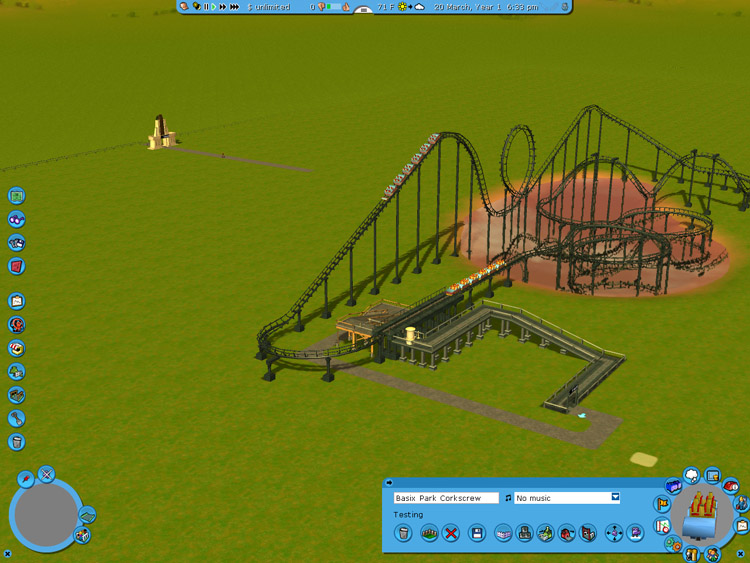
I drop in an Arrow Corkscrew coaster. Note that I know how this is
going to look finished already, I know this from experience but you may need to
tweak your park as you go.
I have picked the colors of my ride and added in a queue line and exit ramp.
Again, I know from experience how I want these things place you can experiment
and tweak things as you go while you get the hang of the game.
I am building this on my Dell, I have no custom scenery installed on this
machine so this is going to use included scenery, that keeps it simple anyhow
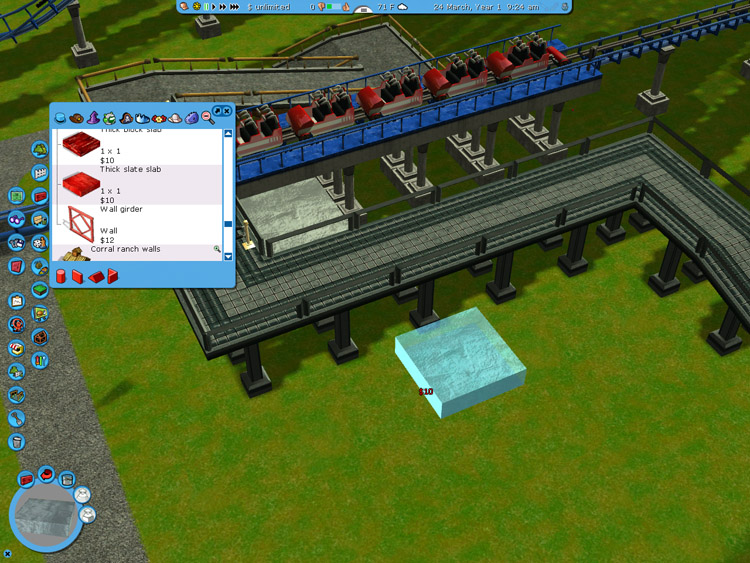
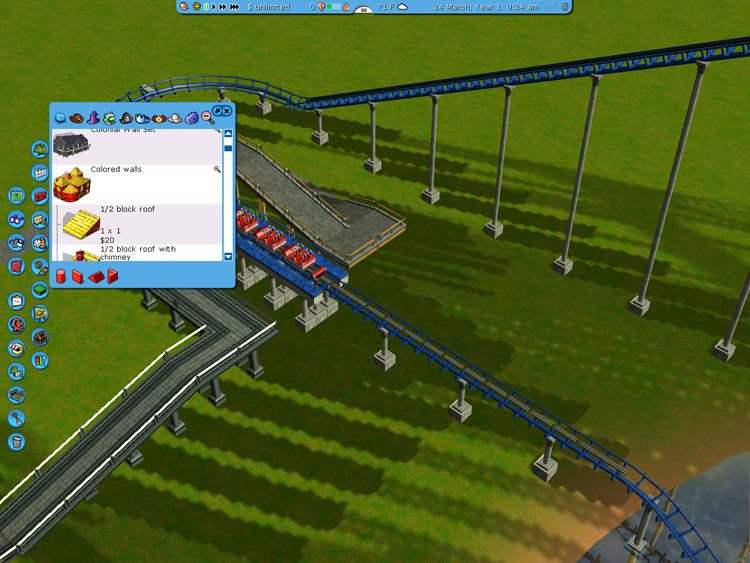
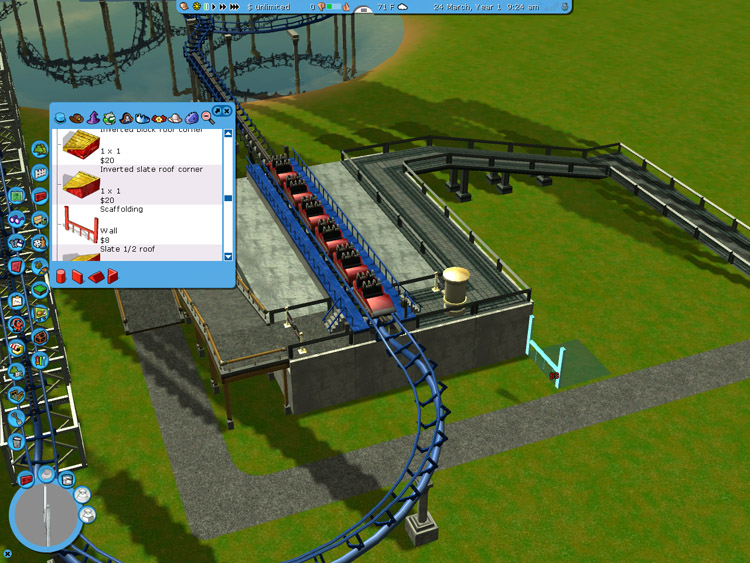
I am using the Thick Slate Slab to make a floor for my coaster station.
Raise things up by holding down the SHIFT key and using the mouse.
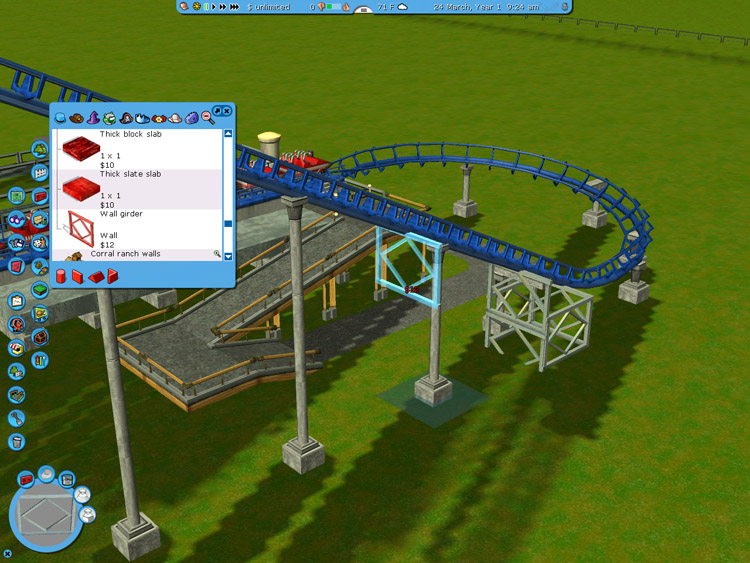
Again using all included scenery I am going to use the wall girder to make
some custom supports for the lift hill. Raise the pieces up to the track
first to get the height correct, hold the SHIFT key and add additional pieces
down to the ground. The final piece will be sunk into the ground some on
some of the towers.
Just keep repeating this process until you finish the towers.
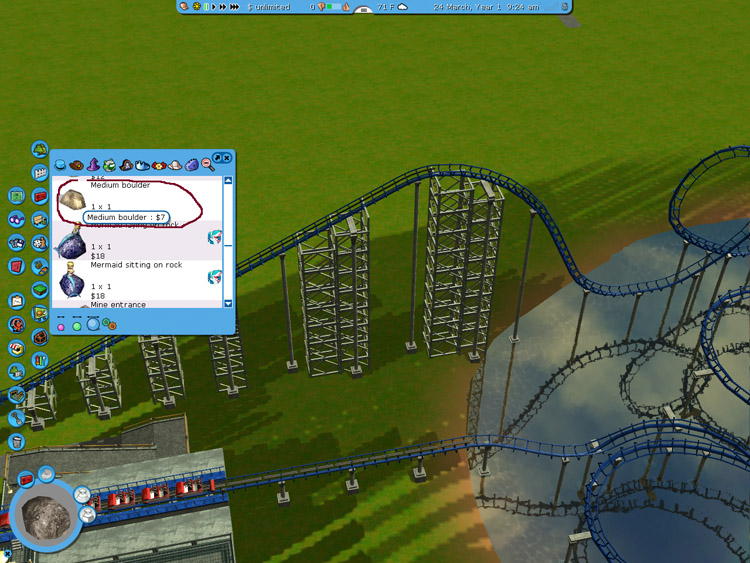
Next is a favorite trick of mine even with custom scenery supports, I use the
small stone boulders included in the game as support killers on the coasters,
they do not cast square shadows in the ground like the custom scenery support
killers. Also if you do not have custom scenery this is the best way to
get ride of the ride supports so only the ones you built appear to be holding up
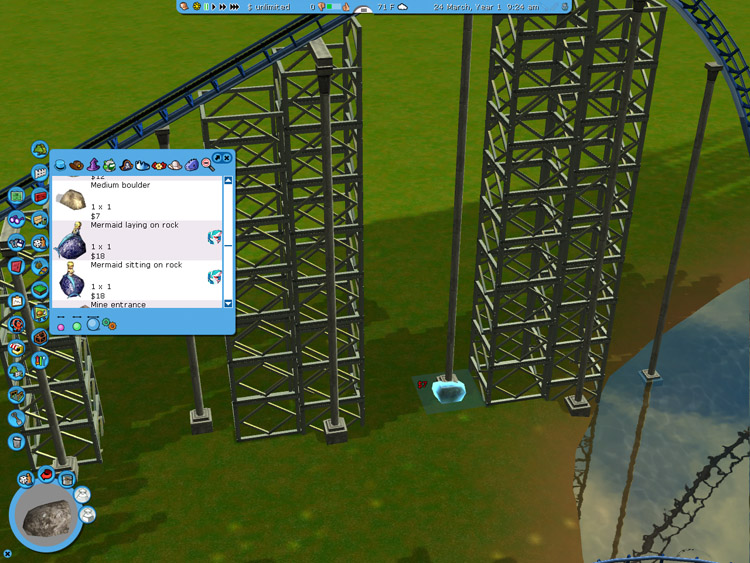
the ride. Take the builder and sink it below the surface where ever you
need to kill the support. Once you get one boulder below the surface you
can hold down the CTRL key to place additional ones at the same depth in as many
spots as necessary to eliminate the support you want to get rid of.
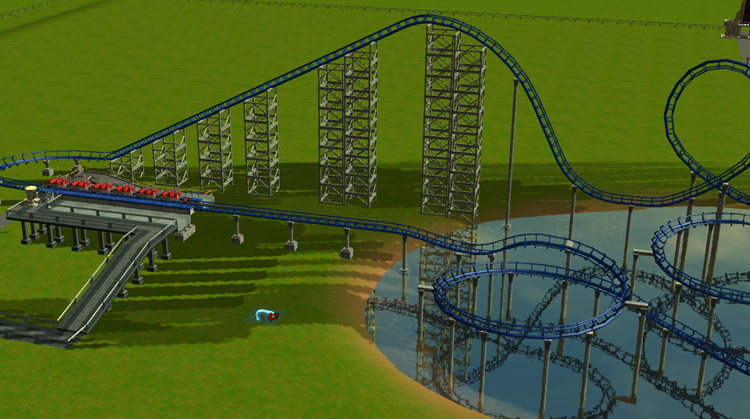
here we are after the supports we do not want are gone.
Back to our station I have added walls below the floor.
Next I am going to add some railings around the station
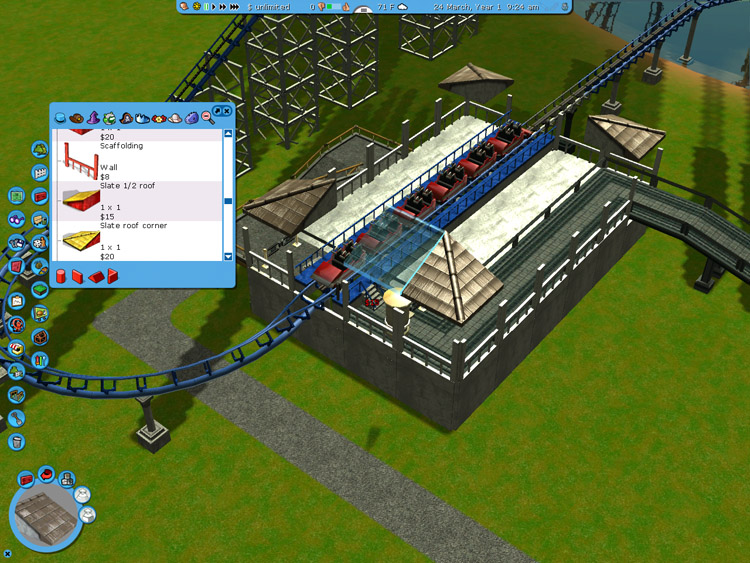
Placing the roof is best done by placing the piece over the entrance first,
put the roof piece under the entrance and hold down SHIFT and raise it to the
lowest point it can go this will set your roof height. You can see I did
not do it in that order, again this is experience I know the height because I
have done this a few thousand times.
I complete the roof next. Note I added some variation to the roof for
interest.

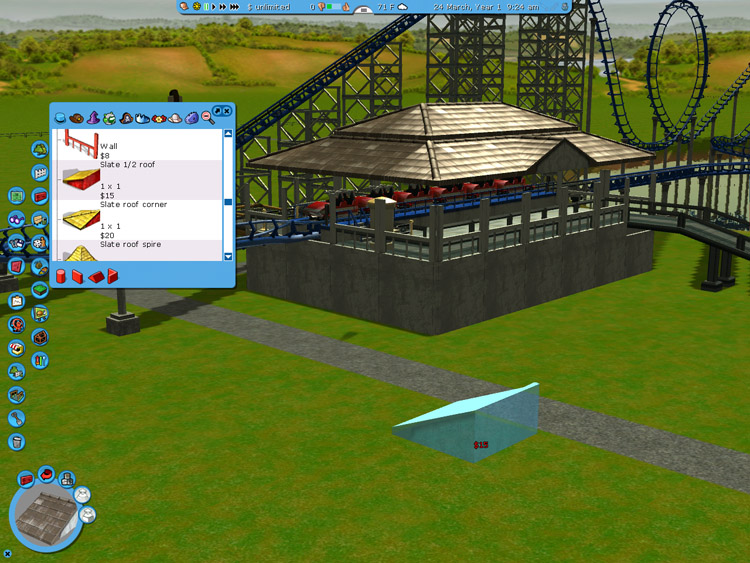
The last step is to add a cornice that is in the Office Walls that come with
Soaked and we have a decent station made with no custom scenery.
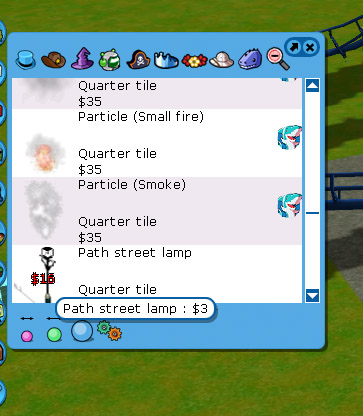
Next I will light the station
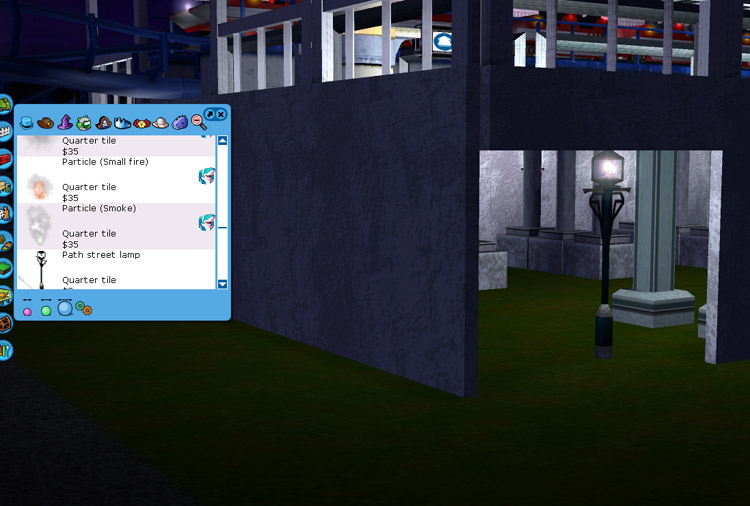
Placing the lights under the station hides them but still takes advantage of
the light the cast.
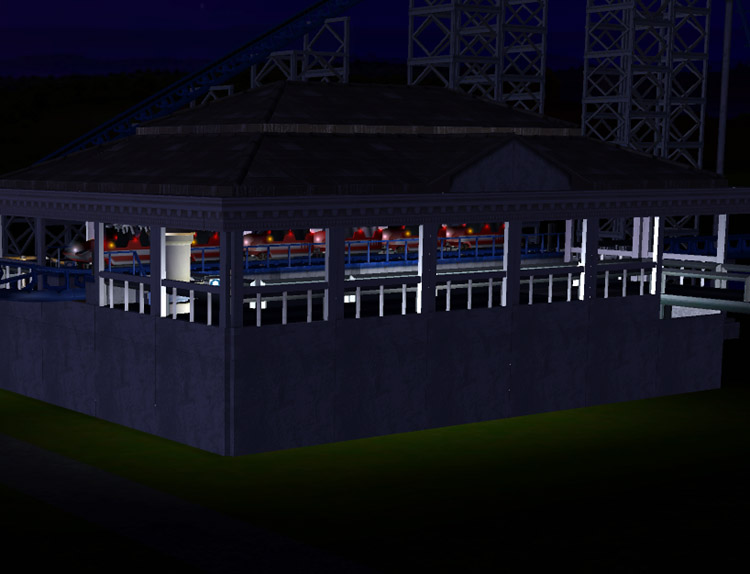
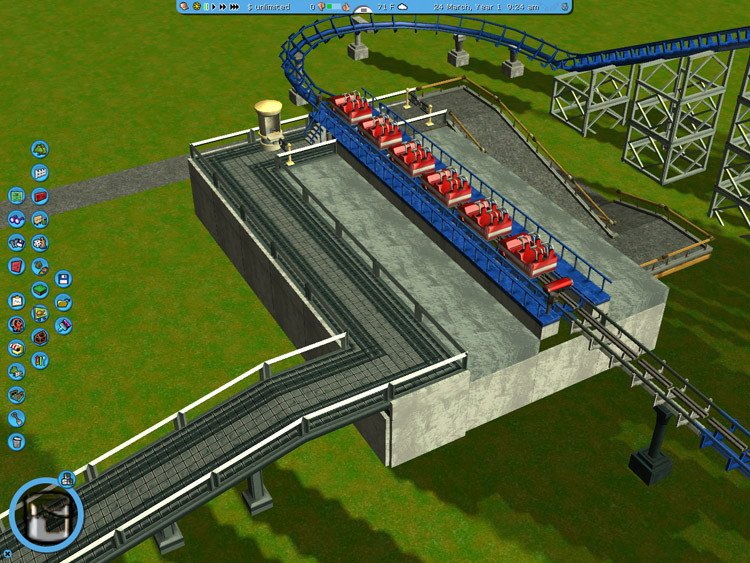
Finished ride station.
Next we will add some scenery
Next Page |


